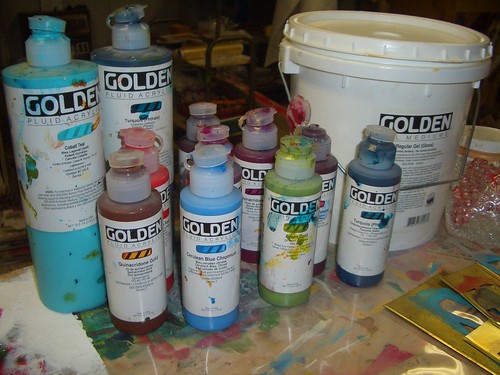
Step1: Gather your paints. I use Golden's Fluid and Heavy Body Acrylic paints.
Step 2: Gather your stencils and other things.
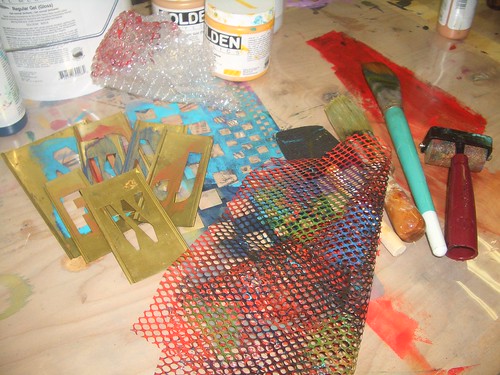
I have a great set of brass stencils I bought as a lot on eBay, there are over 300 pieces. I love using bubble wrap and whatever else I can find that will give me unique markings. I apply the paint with a brayer, it makes such wonderful and deep layers.
Step 3: Gather your papers for a base.
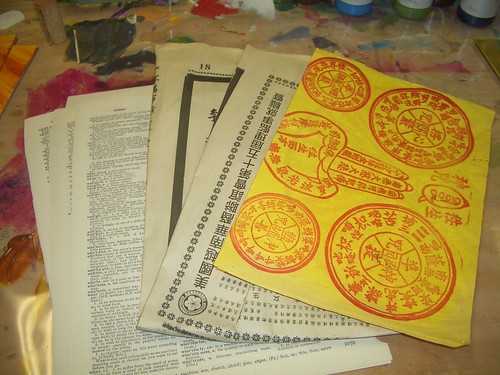
I have all sorts of papers like newspapers, I especially like foreign ones (the one in the photo is an Asian paper I bought in Chinatown in Los Angeles), dictionary pages and some Asian papers I bought in Los Angeles.
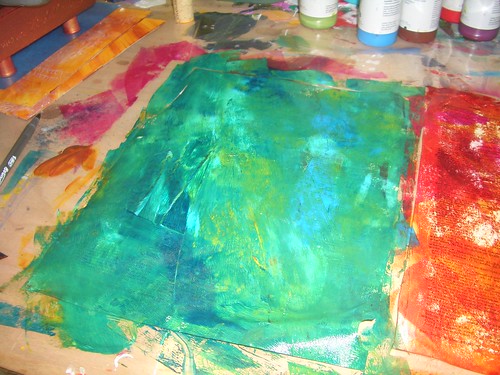
Step 4: Layer your paint onto your paper base.

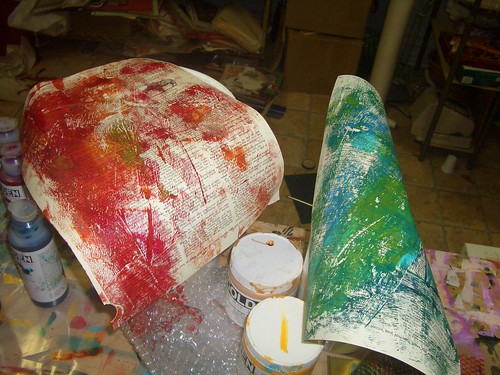
Sometimes I dribble the paint on one at a time brayering in between colors and other times I dribble all the colors on and brayer them all at once. The one thing is that when you dribble it all at once, you tend to get a very thick layer of paint so I will put another piece of paper on top and pull it up and it gives you such cool patterns and a neat base for a second piece. (see example below)
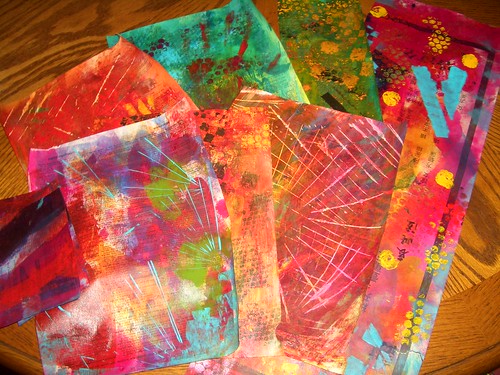
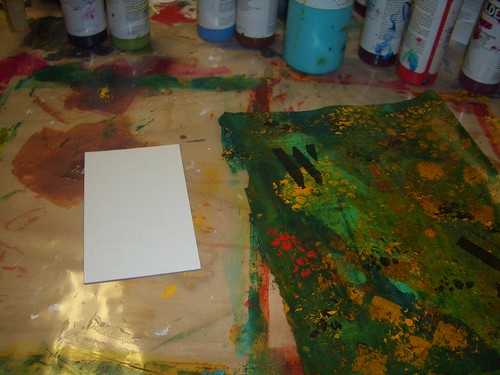
Step 5: Now start decorating.
Step 6: Start using your papers! I was using mine to make a skinny:
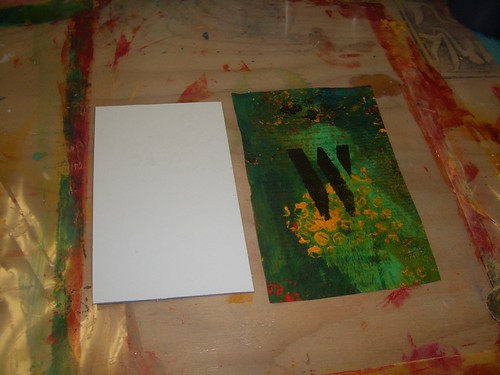
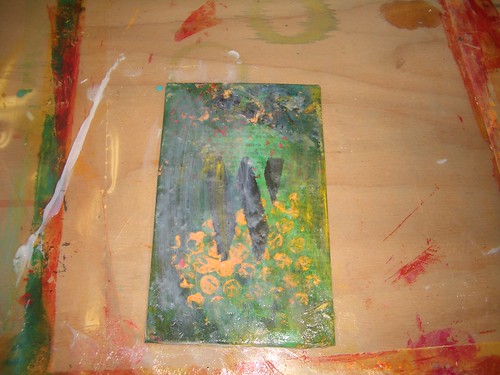
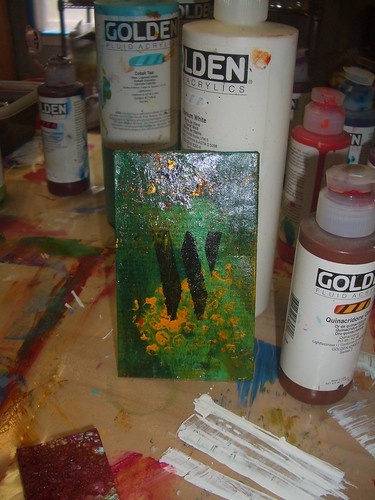

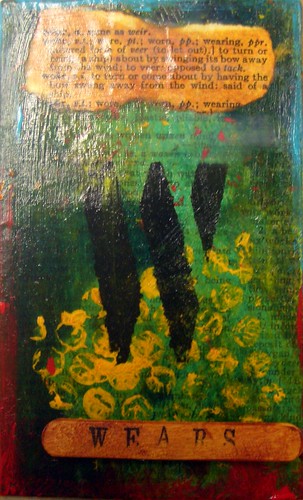
and the finished project (not a good representation as the soft gel gloss is still wet and the glare from the flash. I added a word with it's definition colored with Quinachridone Gold and a mini popsicle stick also colored with Quin Gold and stamped with a word.
Great technique-thanks for sharing! I think they are beautiful!!
ReplyDeleteThank you so much!!!!
ReplyDelete